This is the step-by-step loyalty application setup guide most owners wish they had on day one. Follow it in order and you will go from zero to first rewarded customer in a few hours — with none of the rookie mistakes that cause programs to stall in week two.
Step 1: Define your single reward
Before anything else, decide on the one reward you want to launch with. Not five. One. It should be:
- Reachable for a normal regular in 4–6 visits
- Cheap enough that giving 100 of them away would not hurt
- Tied to something you already sell
A free drink, a free haircut after eight, a free upgrade. Keep it boring — boring is what works.
Step 2: Set your point bracket
The simplest bracket is "every ₱1 spent = 1 point." If your average ticket is ₱200, set the reward at 1,000–1,200 points. That gives the first reward in roughly five visits. Resist the urge to add multipliers, tiers, or weekend bonuses on day one.
Step 3: Capture the birthday
Turn on birthday rewards as part of setup. This is the single highest-ROI move in the whole loyalty application. Make sure your signup flow captures the customer's birthday — and remember Loyalteey locks the birthday field after first save, so customers cannot game it.
Step 4: Install the cashier flow
Open your business mode and walk through the scan flow five times yourself before any customer sees it. The flow is:
- Cashier opens the app in business mode
- Customer shows their Loyalteey QR (digital or printed card)
- Cashier enters the amount
- Points are credited instantly
Tape a one-line cheat sheet next to the register. Write the script your cashier will say ("Want to earn points? Just show your QR.").
Step 5: Print your in-store sign
One A5 sign at the counter is enough. It should say what the program is, what the reward is, and how to join. Do not over-design it. The cashier conversation does more work than the sign — but the sign gives the conversation permission to happen.
Step 6: Soft launch with friends and regulars
For the first three days, only mention the program to existing regulars. They are already comfortable with you — their signups give you free QA without risking awkward moments with strangers. By day four, your staff knows the flow cold and you are ready for broad announcement.
Step 7: Watch the first 50 scans
The first 50 customer scans tell you everything you need to fix. Watch for:
- How long the cashier takes — should drop after the first 10
- How many customers know what their QR is — adjust signage if low
- Which reward gets asked about most — that is your real second reward
Step 8: Add a second reward only after data
Once you have 30+ days of behavior, add a second reward tier. Now you actually know what your regulars want. Before then, you would just be guessing.
What to leave for later
- VIP tiers
- Referral bonuses
- Custom branded cards
- Multi-branch (unless you already have multiple locations)
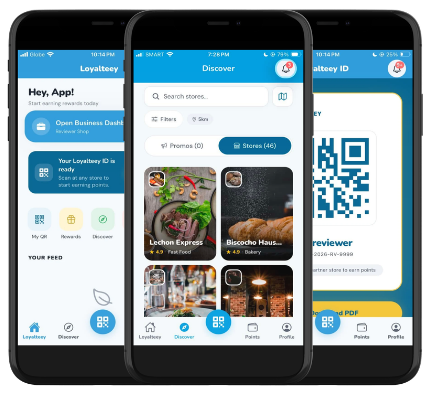
The Loyalteey app is the loyalty application most owners use to run this exact playbook — free for one location, with birthday rewards, a suki list, and per-store points built in from the first scan. Set it up in the morning, launch with regulars by afternoon, iterate from week two.